
Recent Work
Latest images
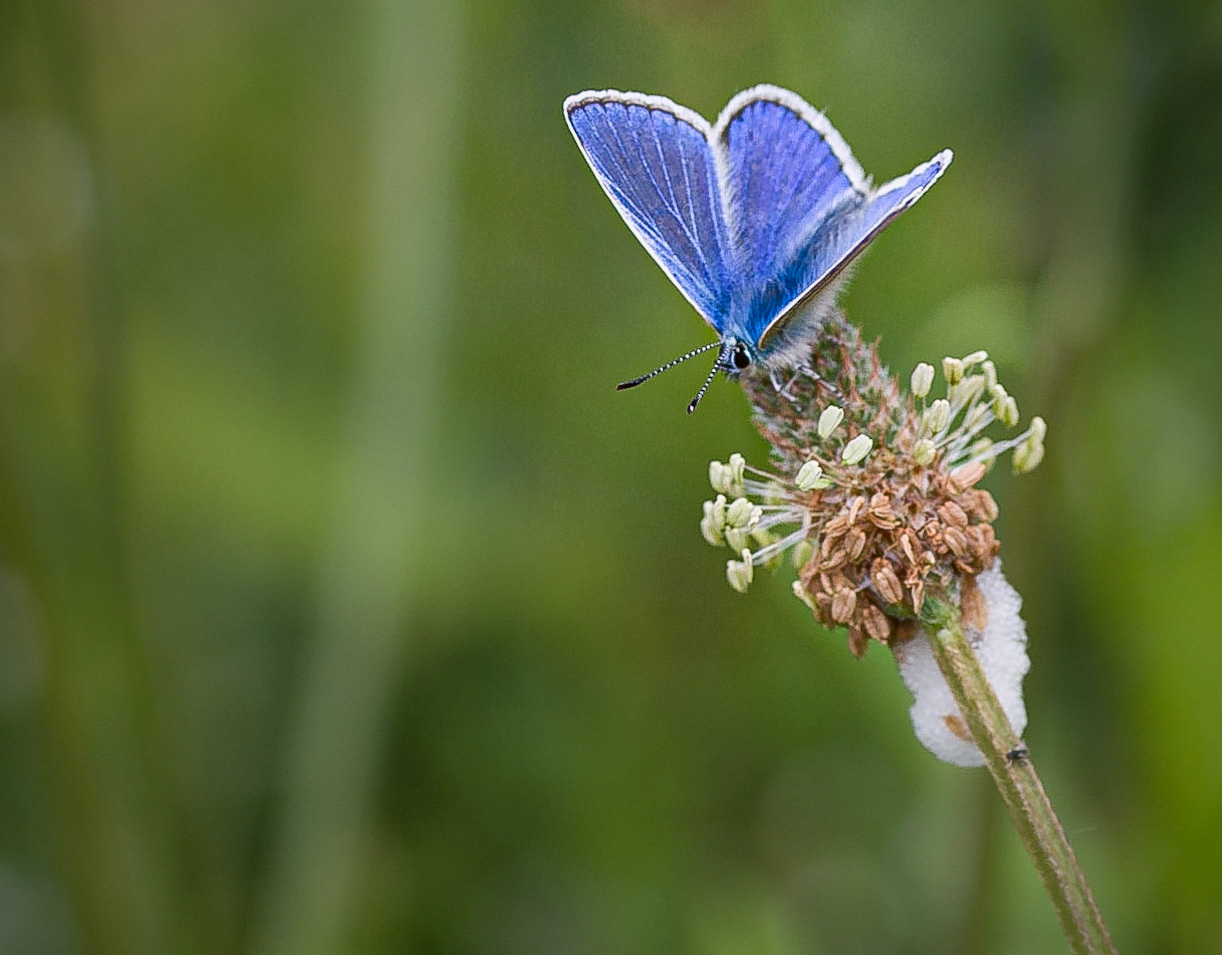
Nature
I'm interested in all type of nature photography
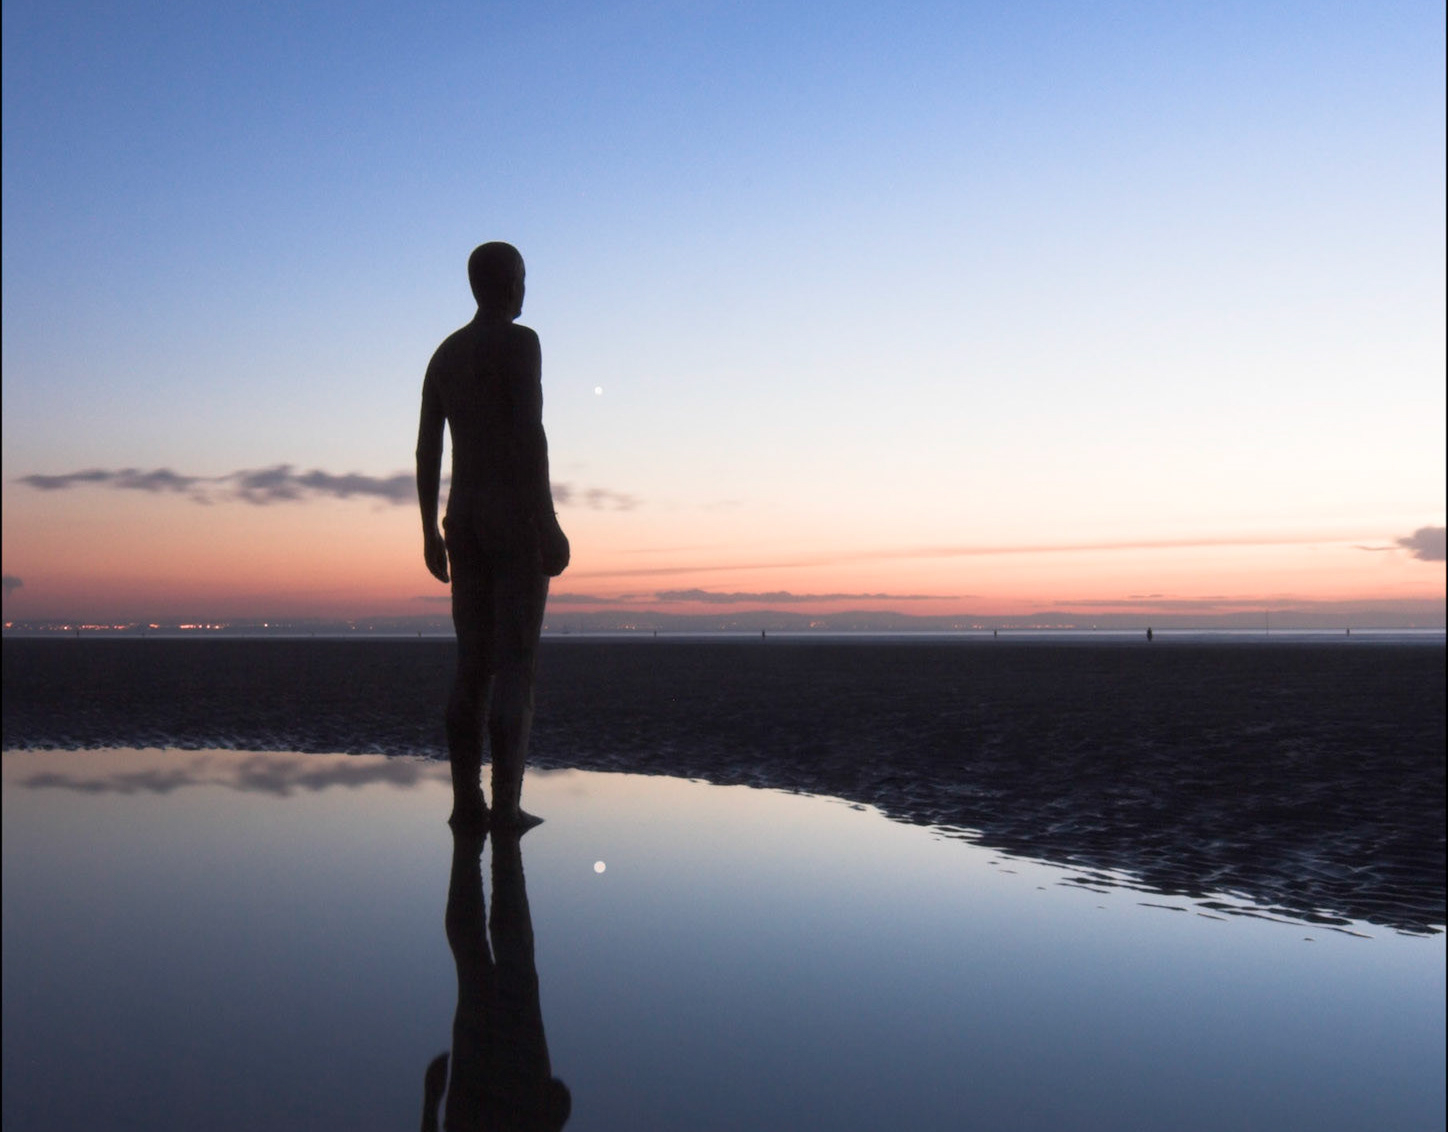
Scapes
Including landscapes, streetscapes & seascapes
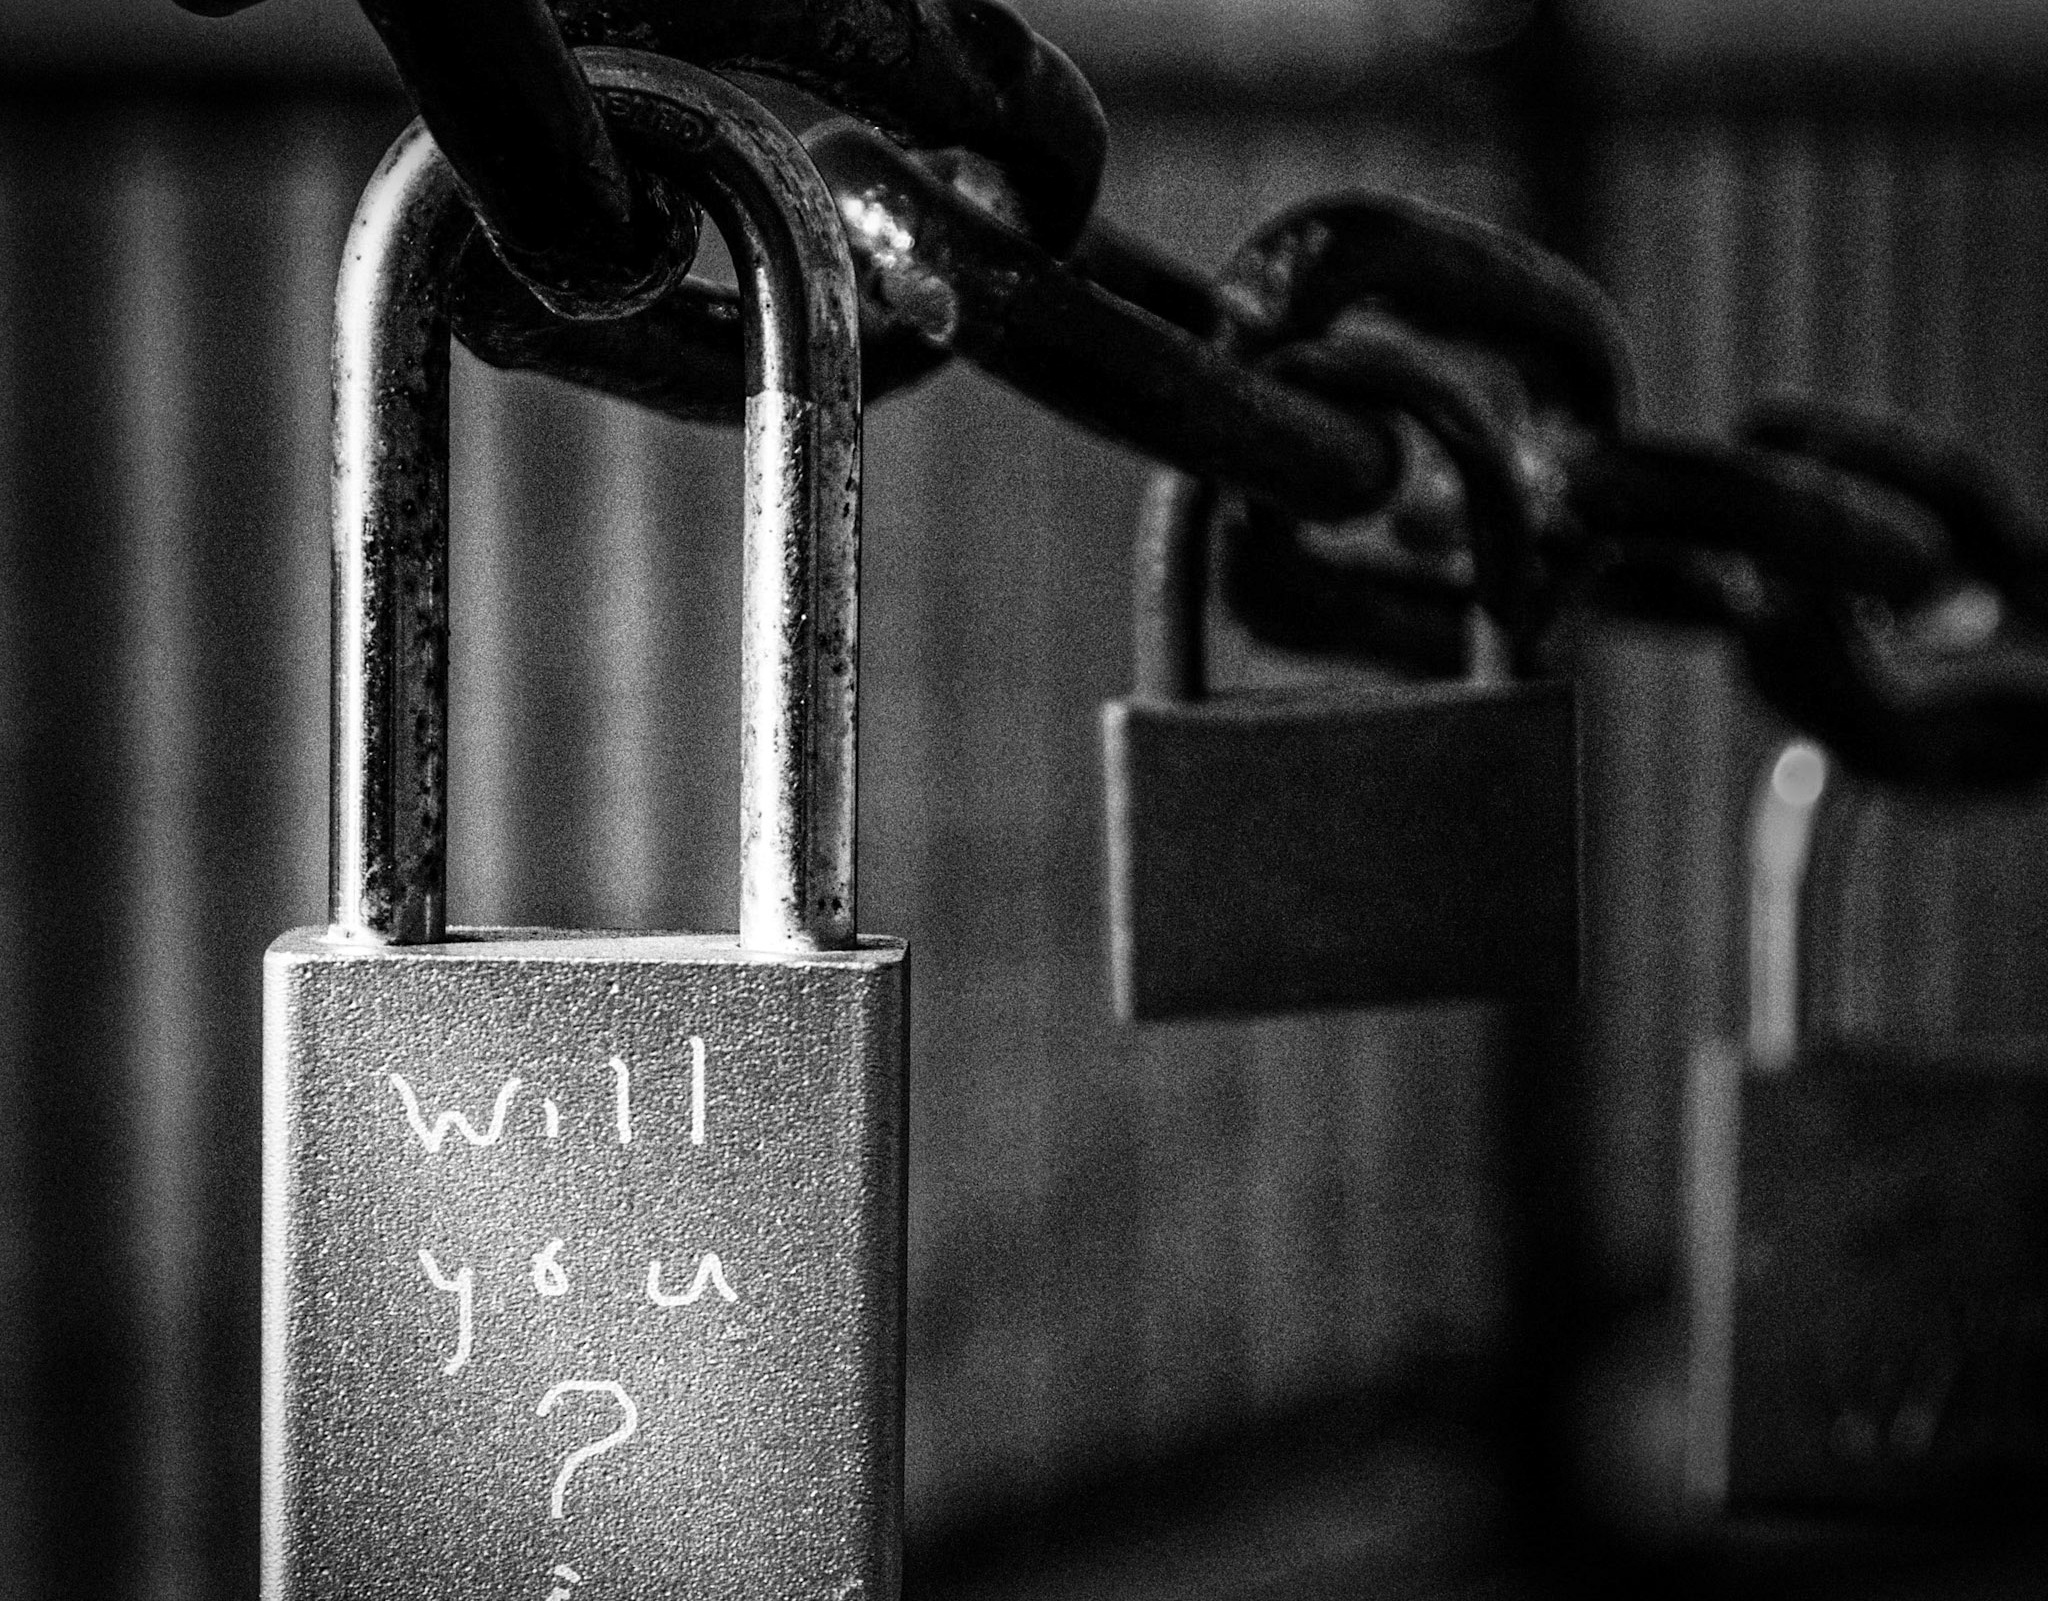
Abstract
Abstract & close up images
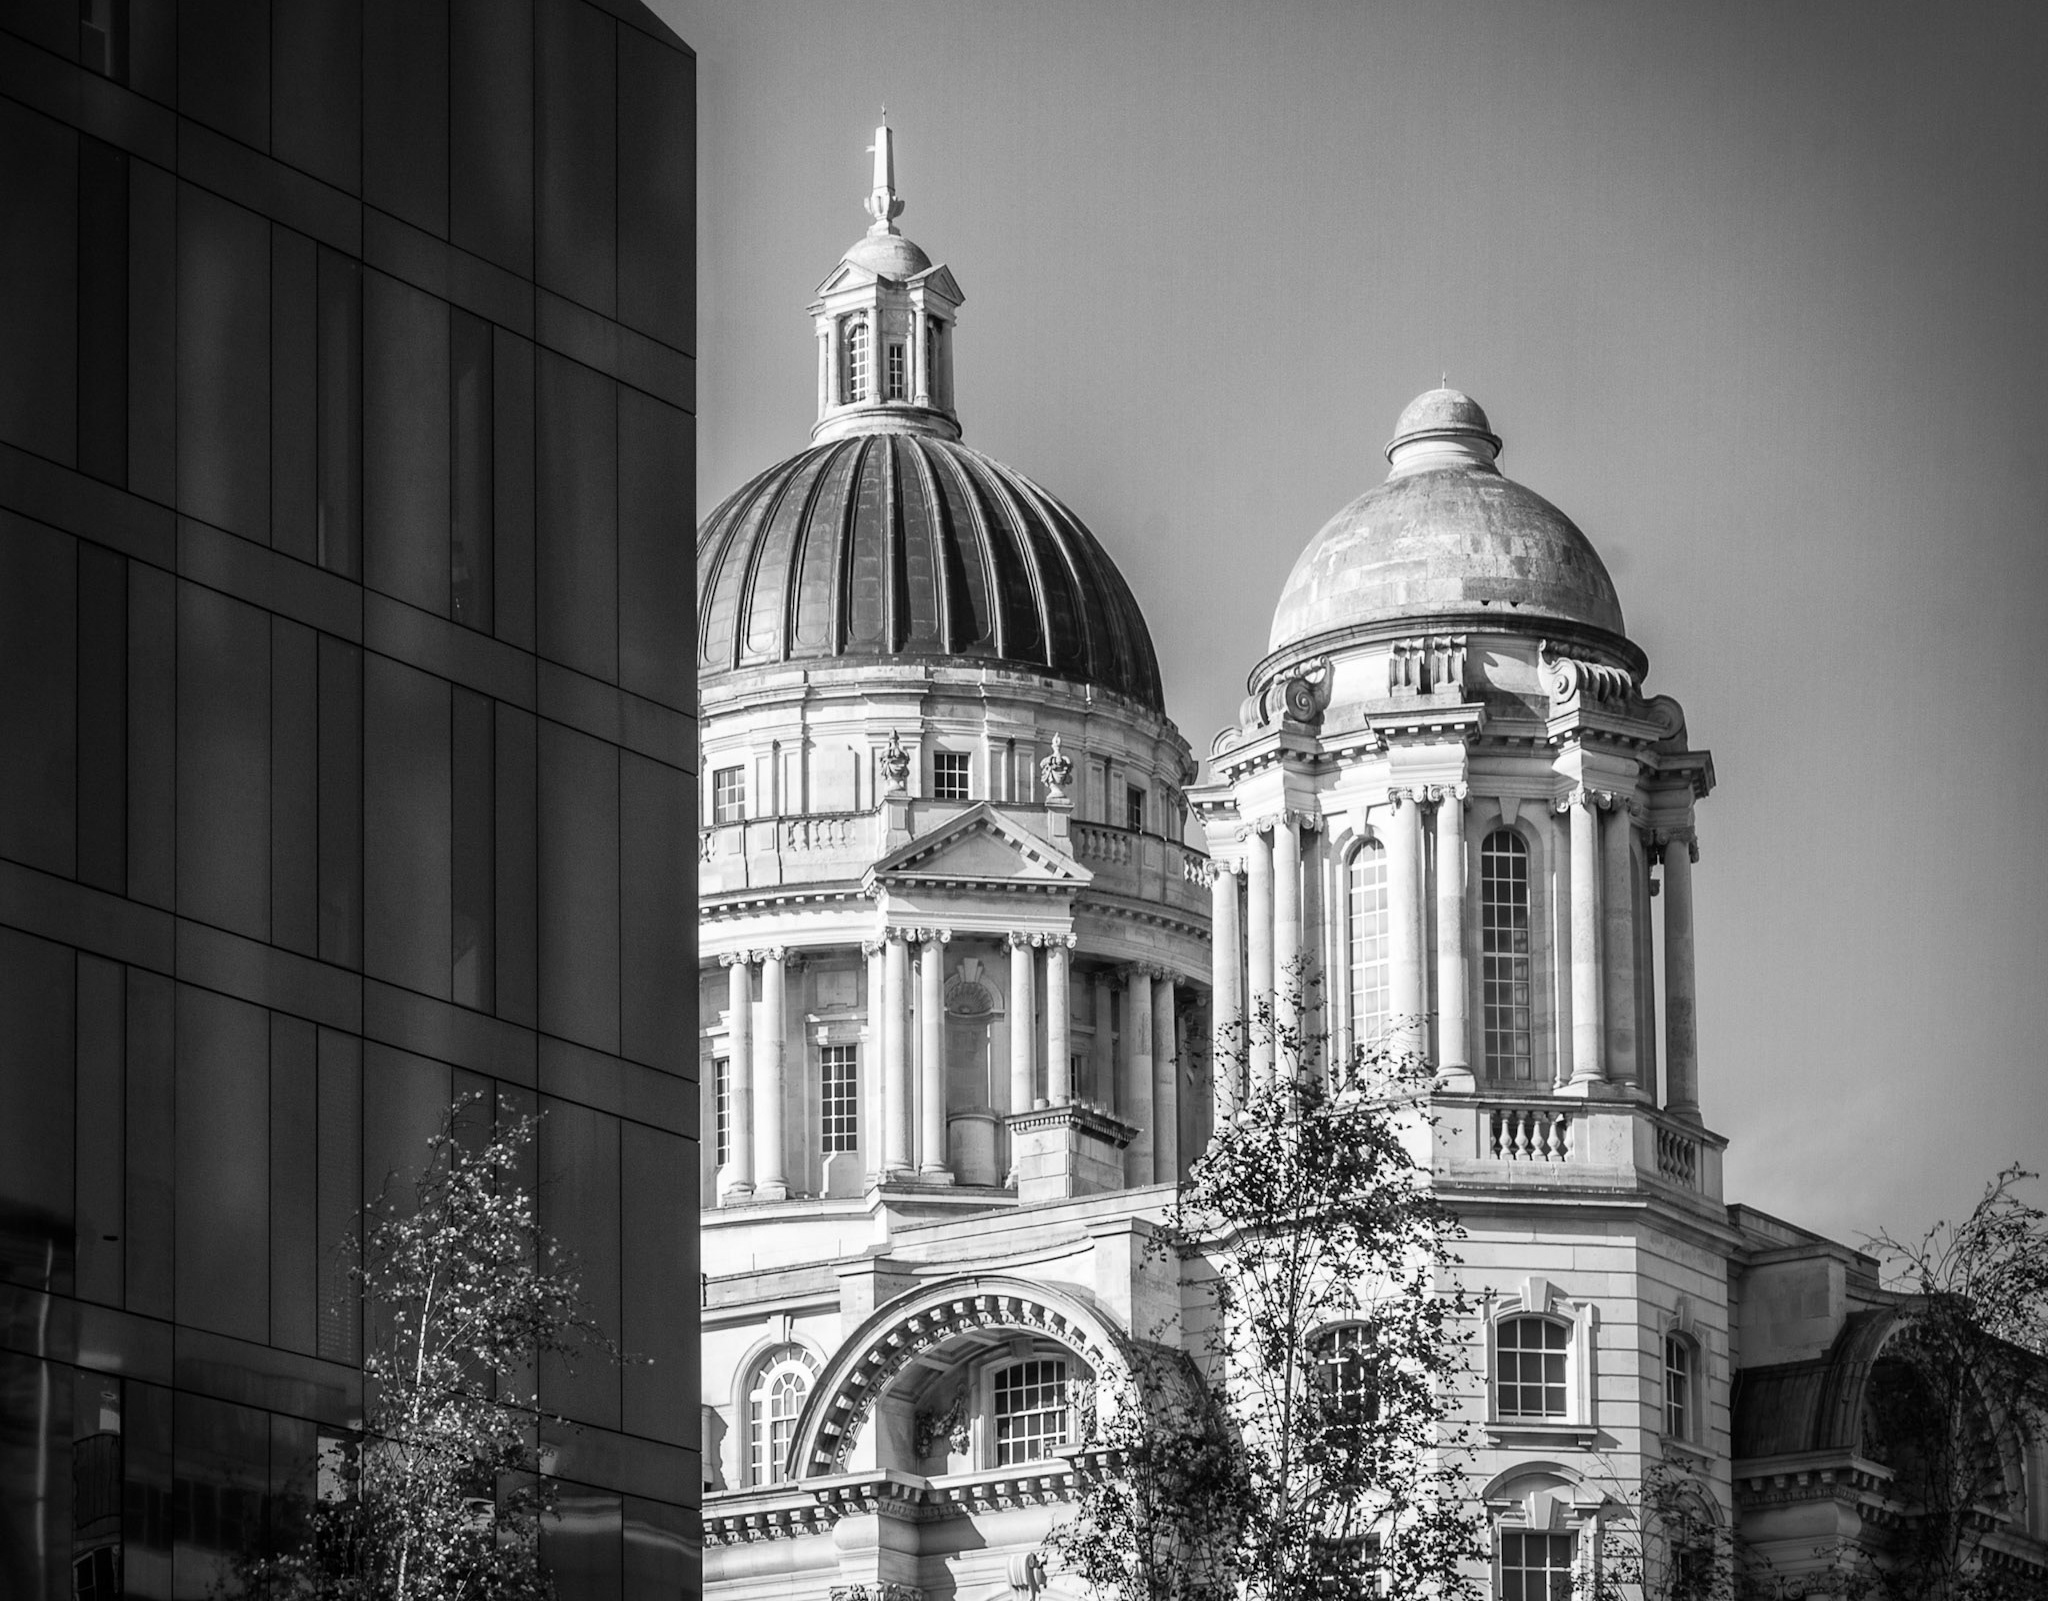
Architectural
Images loosely based upon buildings and made structures
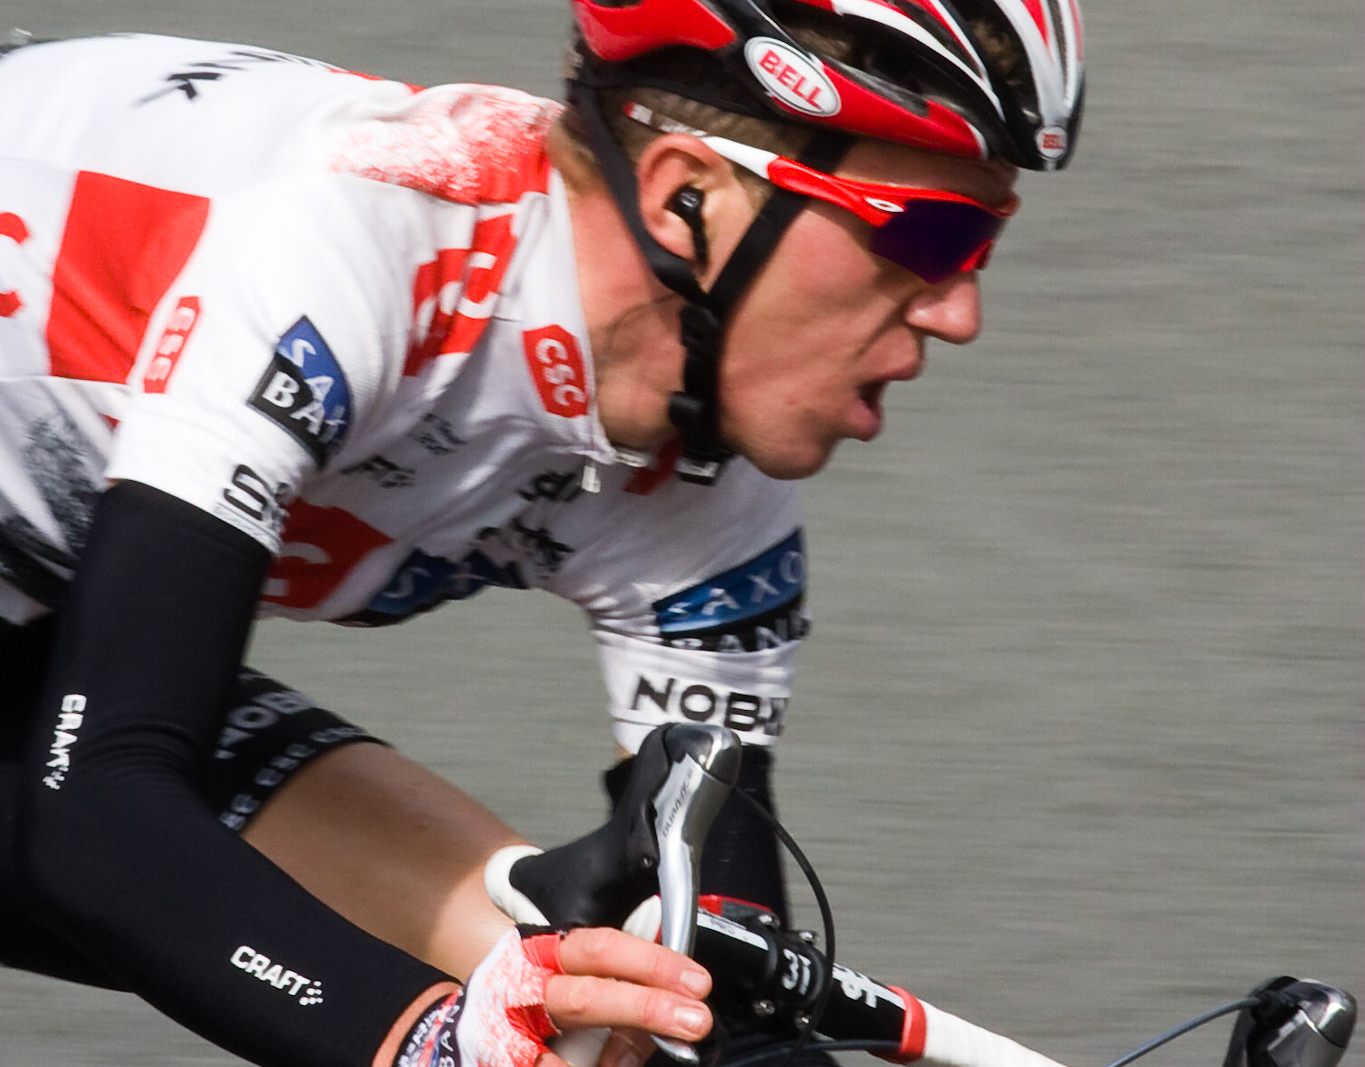
Sport
All types of sport but a lot of cycling